Building a blog with the powers of headless hashnode
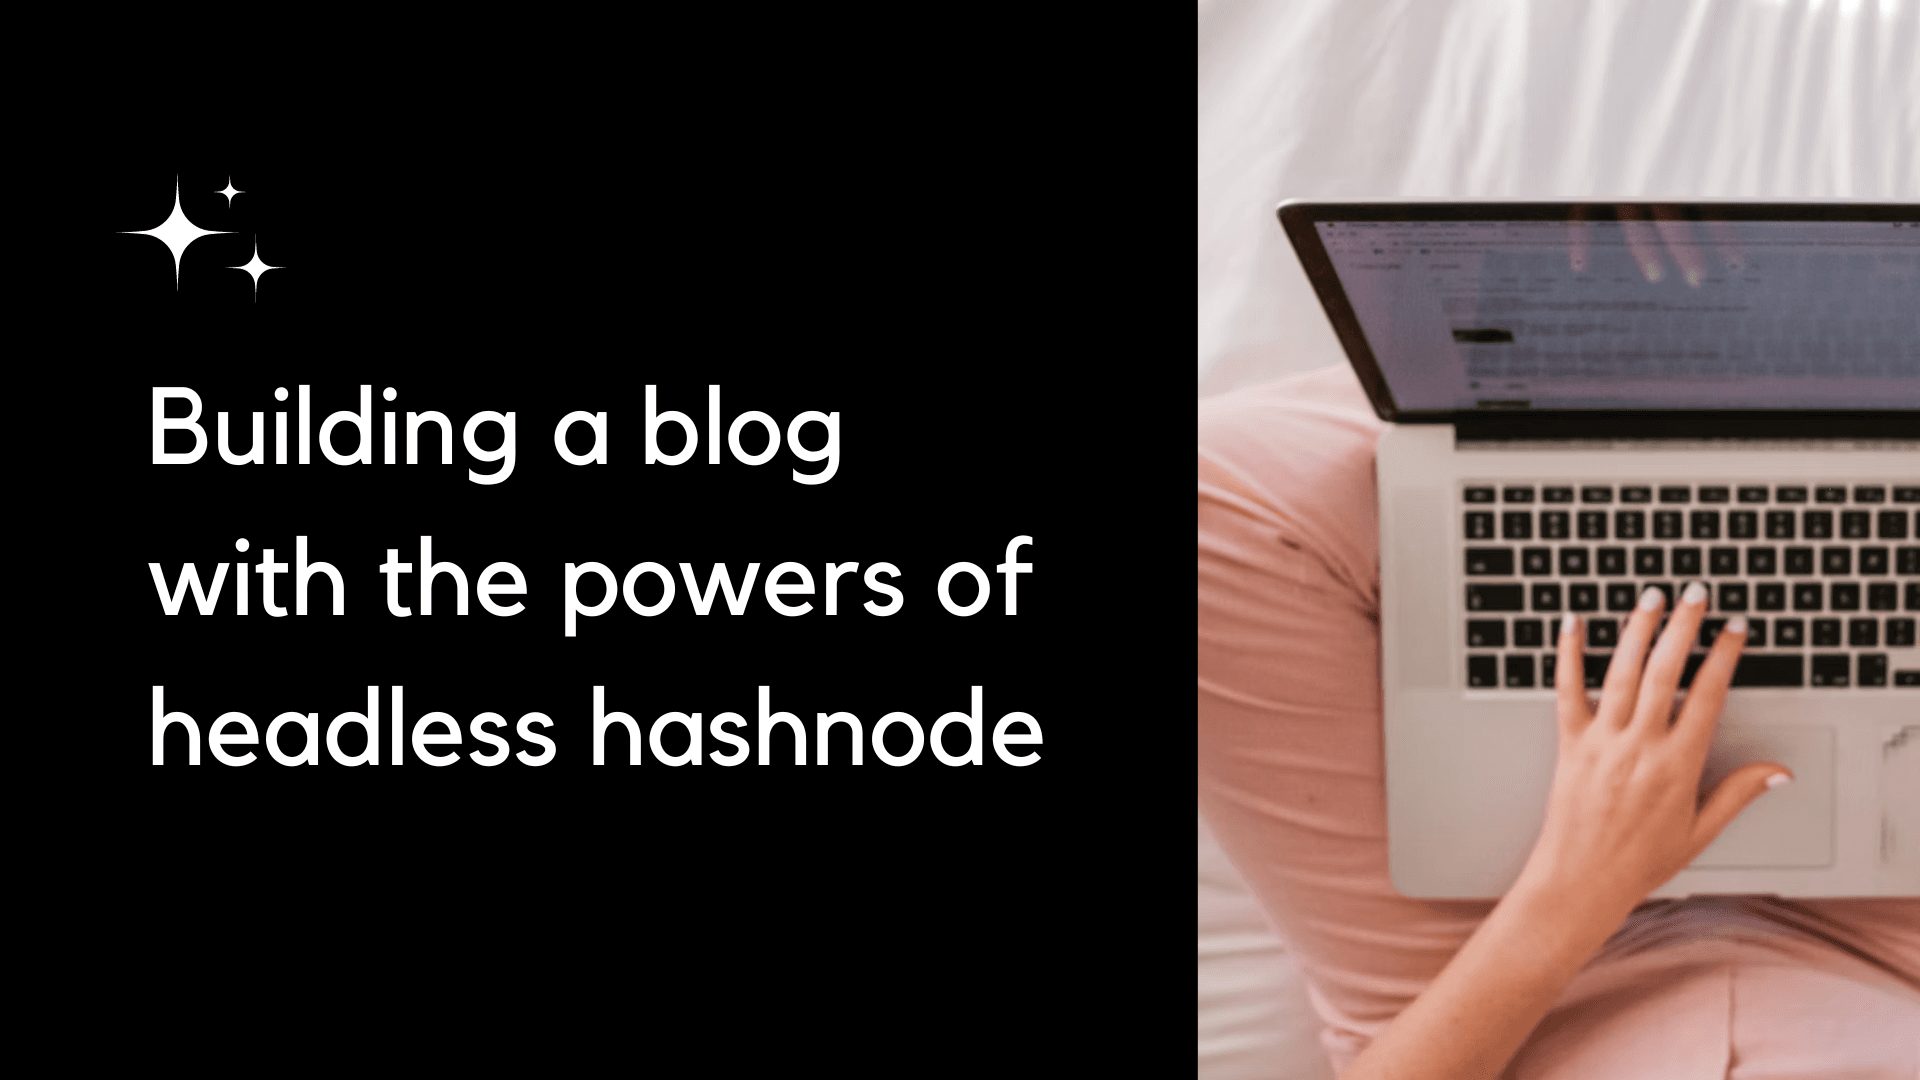
I have been using Hashnode since its early days. Over the years it has become my go-to platform for writing blogs because of its exceptional features. But this time around Hashnode took blogging to the next level by introducing Headless Hashnode. When it was announced that something new was cooking for Hashnode, I knew it would be something along the lines of customization and taking full control of the blogs. And it did not disappoint.
So I used this opportunity to build the blog, the way I wanted.
Step 1: Setting up the blog
The good thing was that Hashnode already provided a blog starter kit which is integrated with hashnode APIs. That made the job easy as I didn't have to build it from scratch.
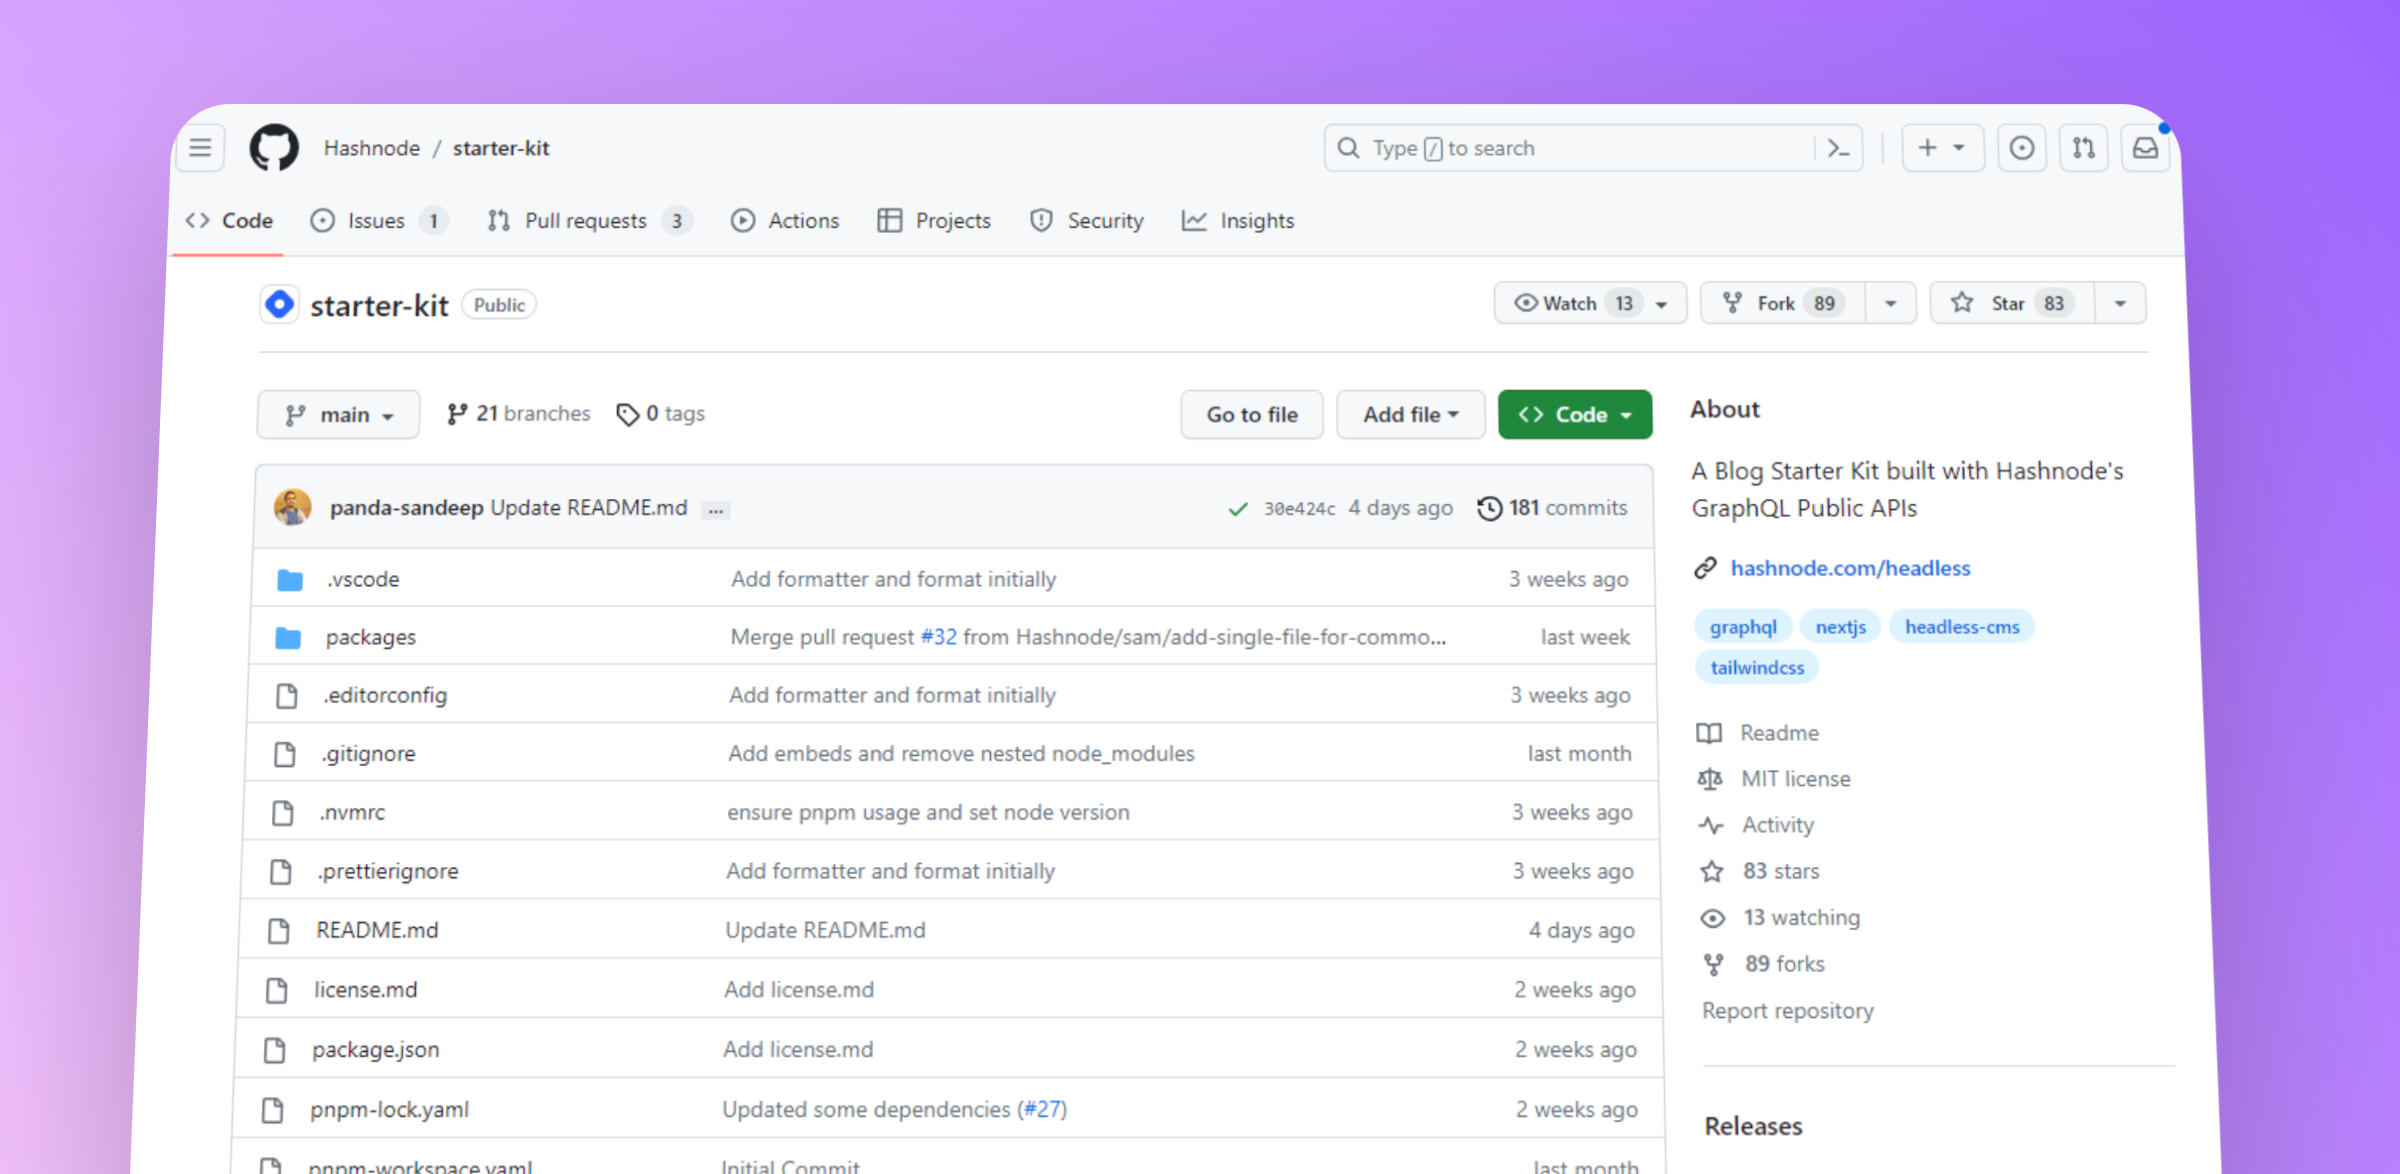
So I forked the blog starter kit repository, set environment variables and deployed it on vercel. I chose the enterprise theme.
I was building this blog for Tabwave and I already had a website deployed on the domain tabwave.app. Thanks to Hashnode now I can deploy my blog on my subpath like tabwave.app/blog
This is how you can configure it on your subpath if your main project is deployed on vercel.
async rewrites() {
    return [
      {
        source: "/blog",
        destination: "https://starter-kit-rose-seven.vercel.app/blog", -> Replace https://starter-kit-rose-seven.vercel.app with your own Vercel deployment URL from step 1
      },
      {
        source: "/blog/:path*",
        destination: "https://starter-kit-rose-seven.vercel.app/blog/:path*", -> Replace https://starter-kit-rose-seven.vercel.app with your own Vercel deployment URL from step 1
      },
    ];
  },
You can read more about setting up your blog on the started kit repo
Once it was deployed, I enabled the headless mode in my blog dashboard on Hashnode. And that's it. It started treating my blog as a headless blog and sent readers directly to the origin which is tabwave.app/blog

Step 2: Personalize the blog
At this stage, the blog is live and running. It was mind-blowing to see it didn't even took me more than half an hour to set it up. Now that the blog is ready, it is time to customize it.
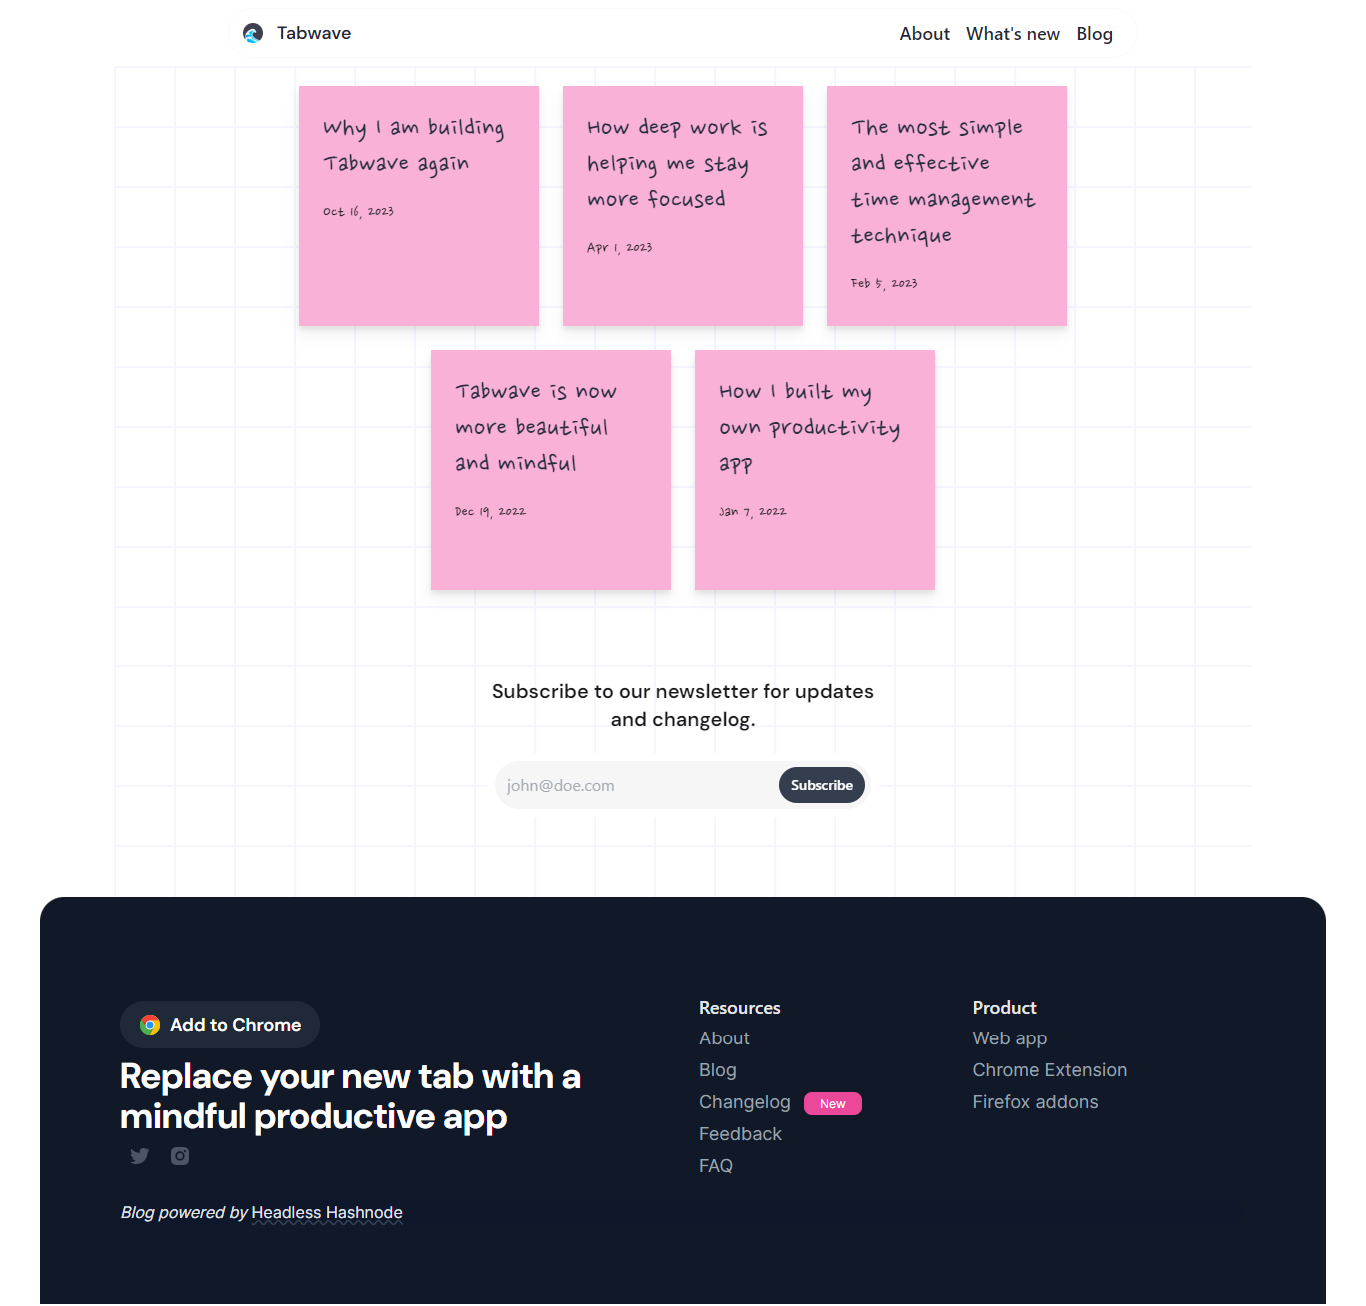
I started with the headers and footers first and then slowly built the blog cards. At first, I just made normal cards ui for blogs but then I got an idea. This was a blog for a productivity app, so why not make it look like that?
And I ended up making my blog cards look like simple handwritten sticky notes.
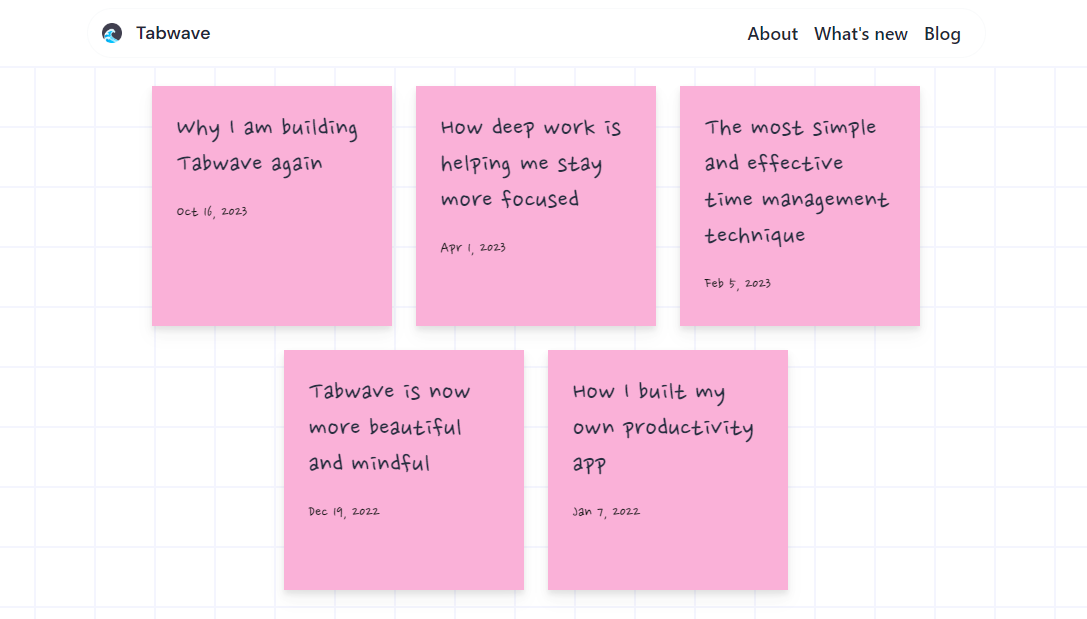
I customized everything else to match it with the theme of my website.
Having tags and their respective pages is very useful as I can put all the changelog on a single page.

And that's it. You can see my blog here at tabwave.app/blog
repository : https://github.com/rutikwankhade/tabwave-blog
Even I was surprised by how easy and fast it is to build a blog with headless hashnode. I believe it's gonna change the blogging space as it opens the countelss opportunities with it.
Now I can just use the powerful hashnode editors to write a blog any time and publish it. I hope this pushes me to write more often. Nevertheless, I had fun exploring headless hashnode and you should also give it a try.