Adding your blogs on a portfolio with react and Hashnode API

Hashnode is one of the best blogging platform ever built. Seriously it has all the features one would ever wish and that too with an eye-appealing user interface. The 👩💻 devblog is one of the best features of hashnode for reasons like
- Markdown support
- Syntax Highlighting & rich embeds
- AMP Support
- You own your own data
- backup on Github
- And you can host your blog on your own personal domain.
But what if you have a portfolio site and you want to add your blogs on the same domain without moving to another domain. Well, you can do that using Hashnode's GraphQL API. You can check out Hashnode's API playground and docs here.
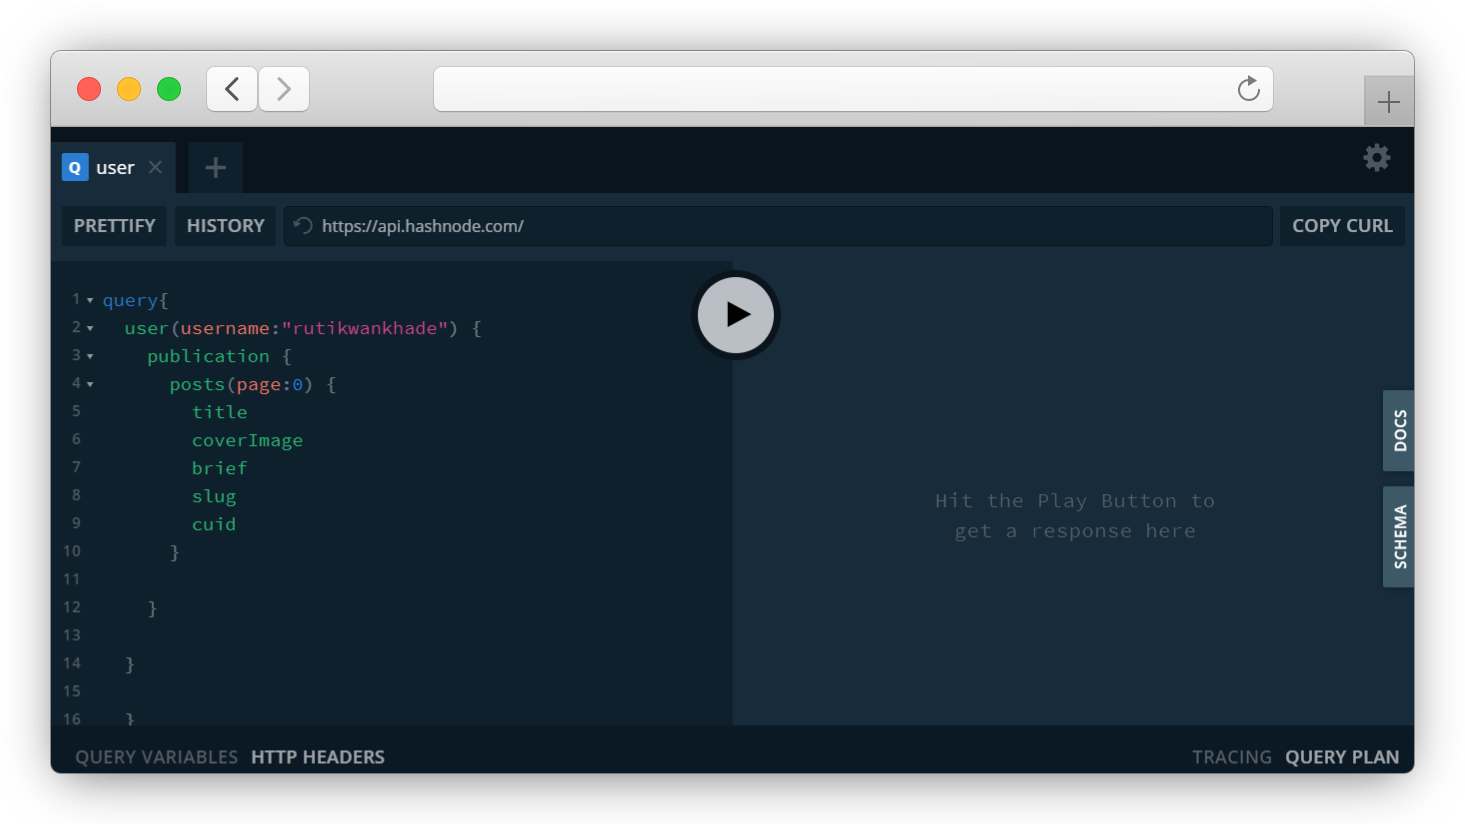
Exploring the API docs
GraphQL is a query language for APIs. We send a GraphQL query to the API and get exactly what we need.
So If you go through the docs, you can find whatever you want and send that query to the API. Let's explore the docs and find the exact query for our blog posts.
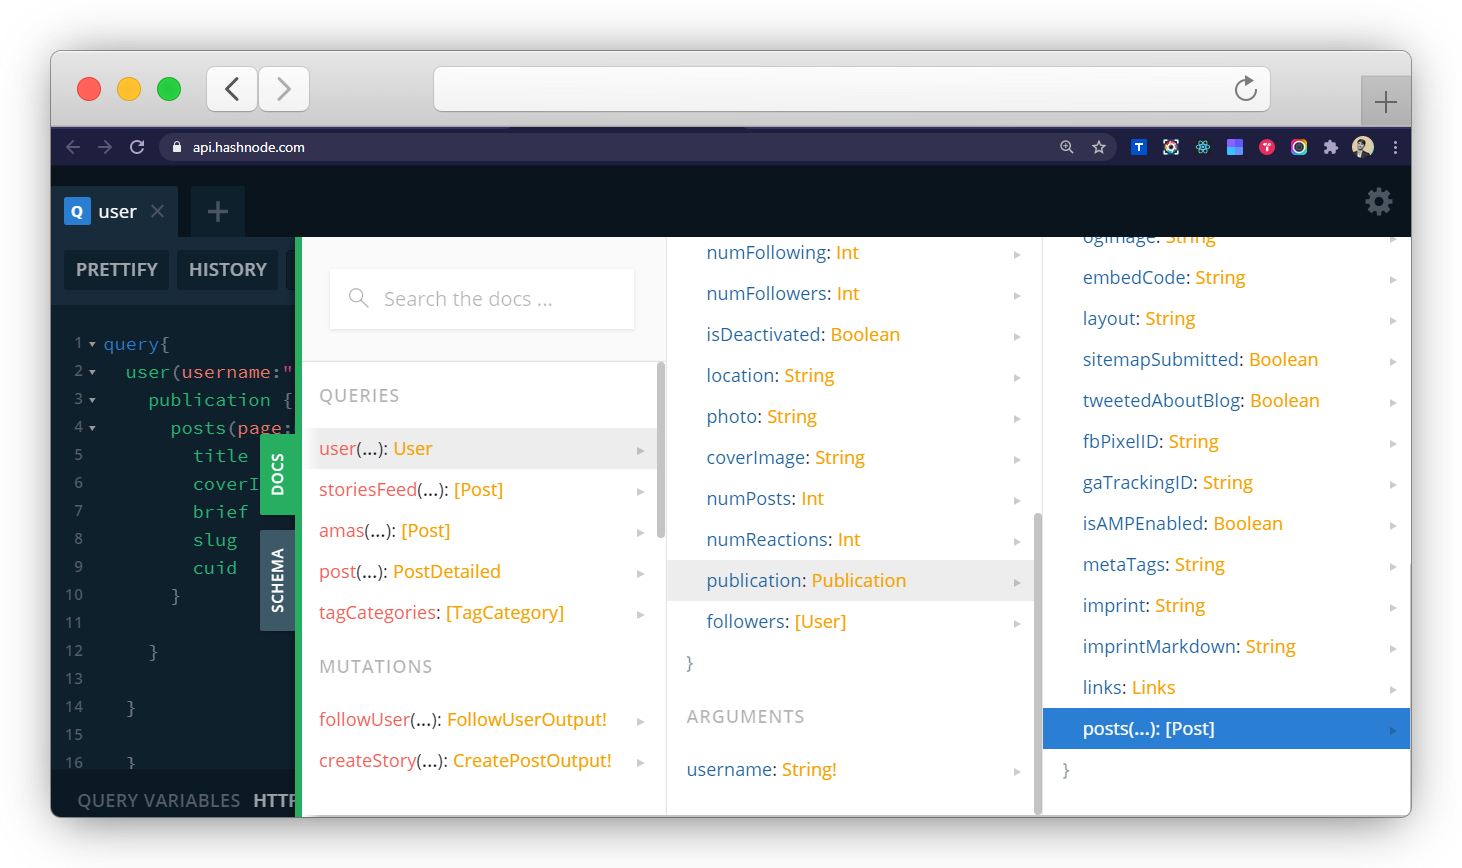
Once we find the posts we can decide what things we want to show on individual posts like title, brief, cover image, date of publishing, etc.
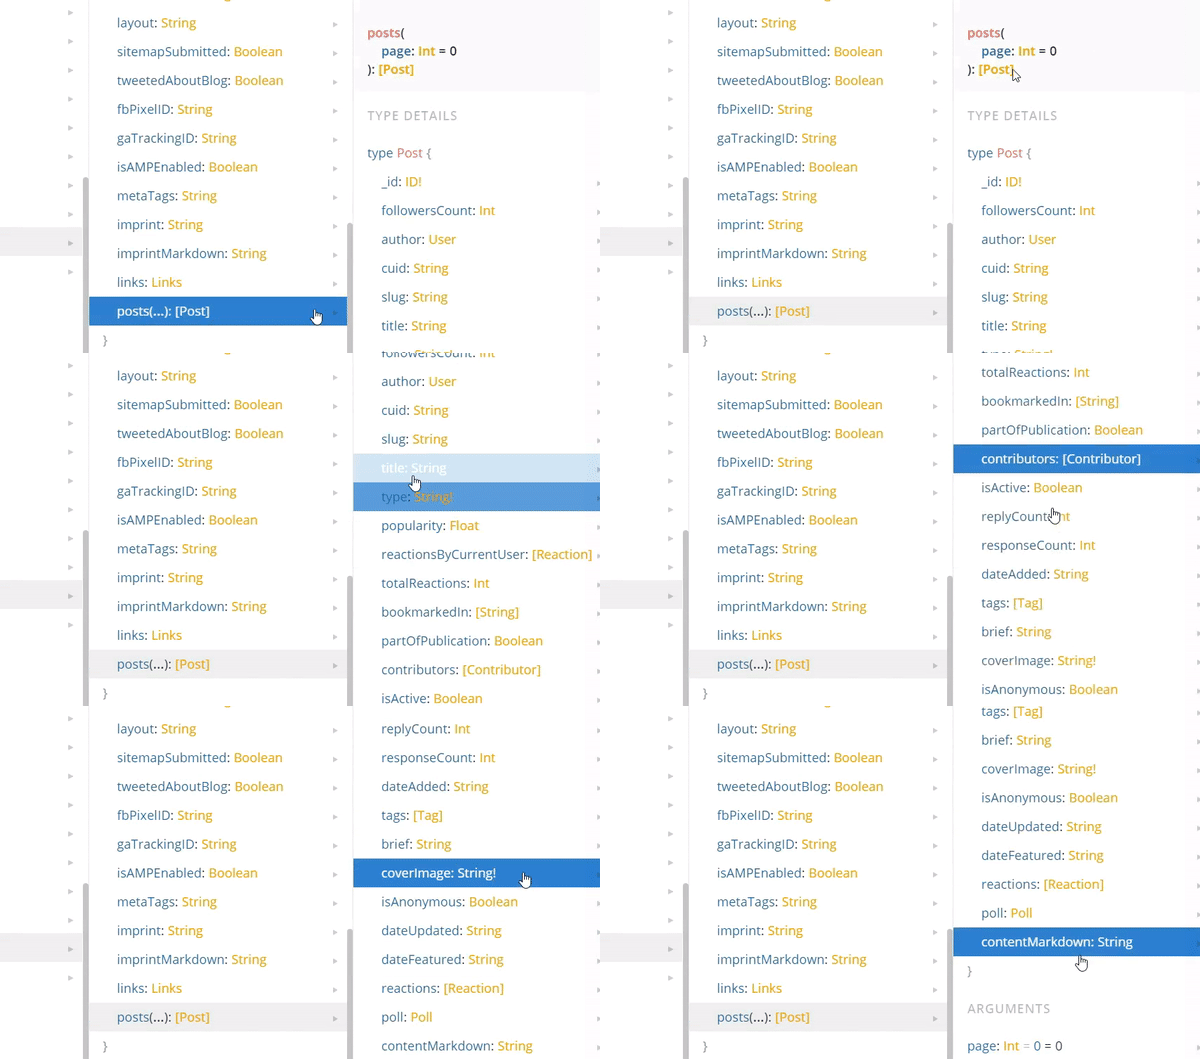
This is how our query will look now
const query = `
    {
      user(username: "rutikwankhade") {
        publication {
          posts{
            slug
            title
            brief
            coverImage
          }
        }
      }
    }
  `;
Fetching the blog posts
So I created a class component called Blogposts.js where I will call the API and display all the posts. Let's first call the fetchPosts function and console log the response to see if it works.
class Blogposts extends React.Component {
  state = {
    posts: []
  };

  componentDidMount() {
    this.fetchPosts();
  }

  fetchPosts = async () => {
    const response = await fetch('https://api.hashnode.com', {
      method: 'POST',
      headers: {
        'Content-type': 'application/json',
      },
      body: JSON.stringify({ query }),
    })
    const ApiResponse = await response.json();
    this.setState({ posts: ApiResponse.data.user.publication.posts});

    console.log(ApiResponse.data.user.publication.posts);
  };

   render(){
        return(
            <h1>Hashnode api</h1>
        );
}
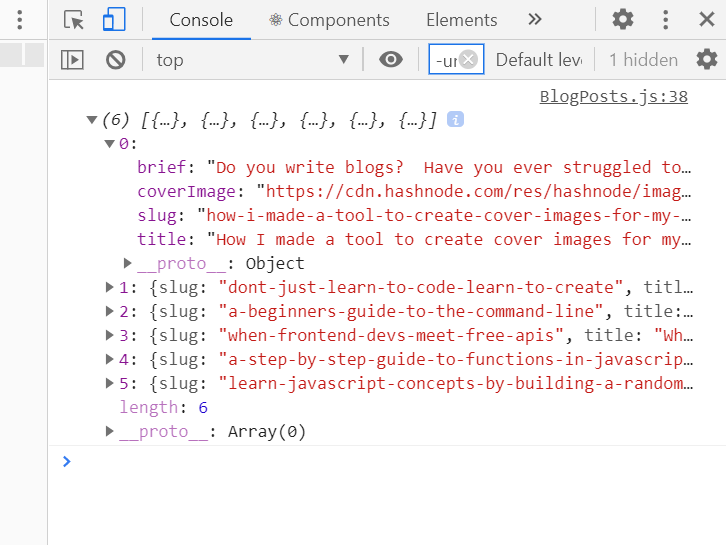
✨ Yay! We got the perfect response. It's an array of objects where each object has a title, slug, brief description, and cover image of a post.
Rendering the posts
First, we will map the array and then pass it's elements through props to the Post.js component. Here is how the render function of BlogPosts.js will look now.
render() {
        return (
            <div>
                {this.state.posts.map((post, index) => (
                    <a key={index}
                         href={`https://blog.rutikwankhade.dev/${post.slug}`} >
                        <Post post={post} />
                    </a>
                ))}
            </div>
        );
    }
The slug will be useful here to link posts to the original blog posts. Now let's create a Post.js component for displaying each blogpost.
const Post = ({ post }) => {
    return (
        <div>
            <img src={post.coverImage} alt={post.title}/>
            <h2>{post.title}</h2>
            <p>{post.brief}</p>
        </div>
    )
}
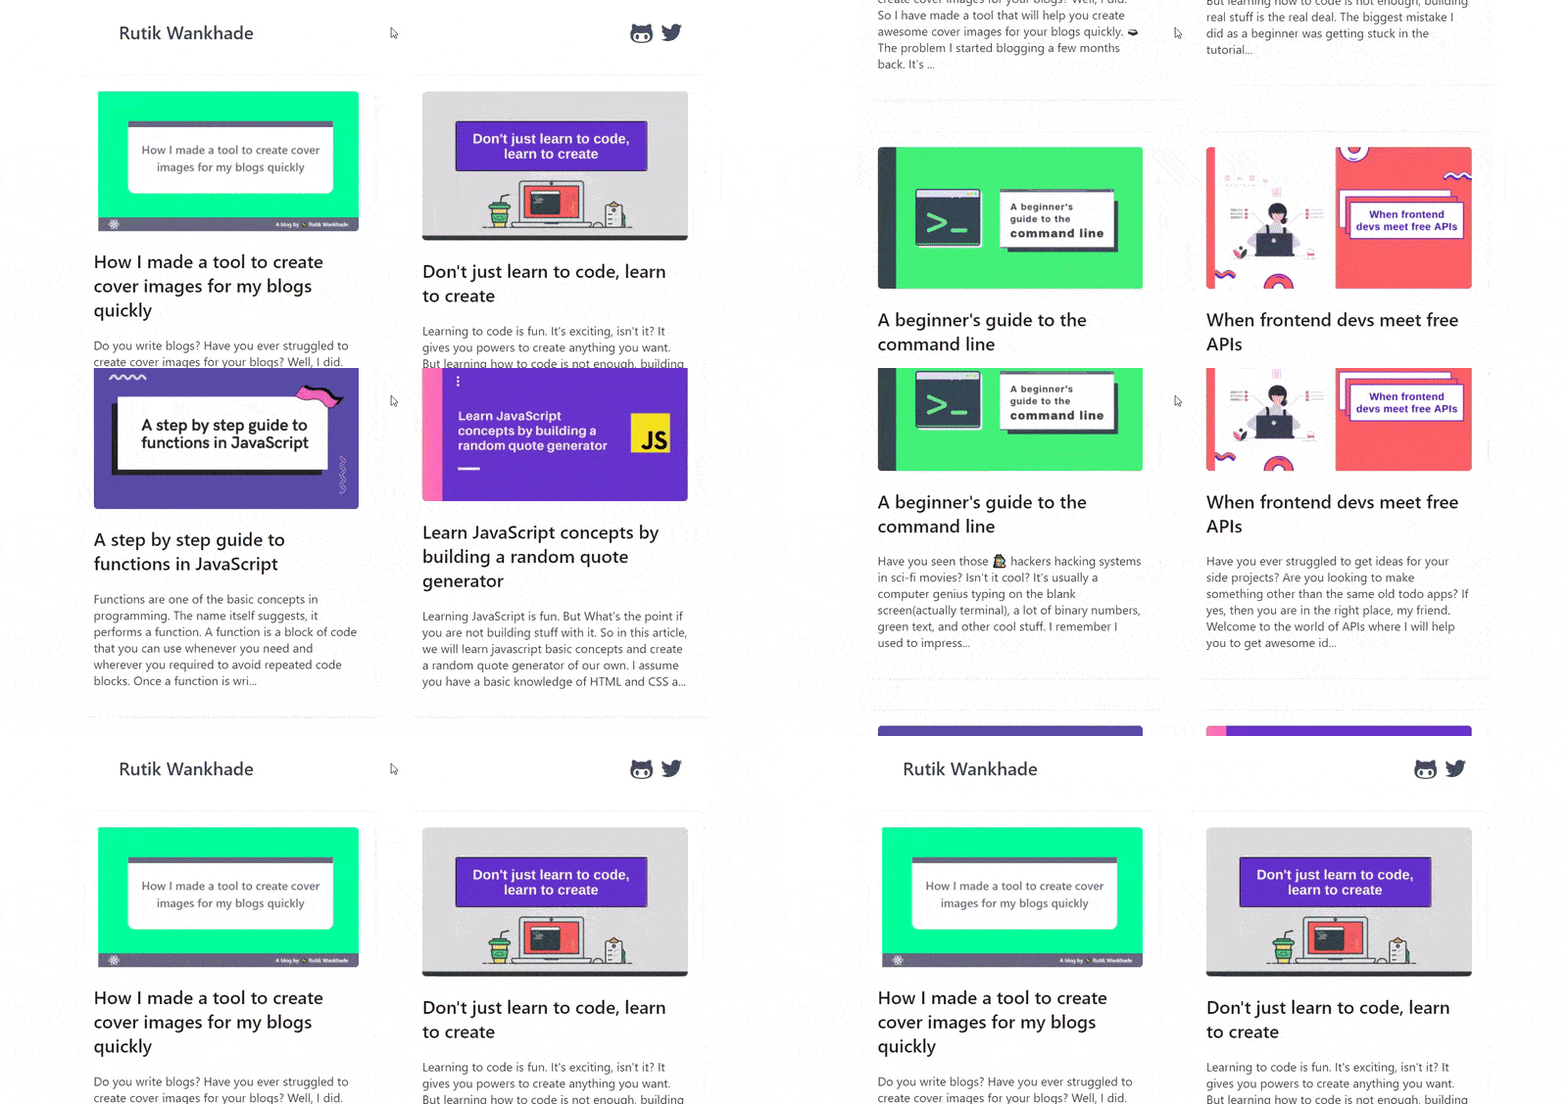
After adding some styling to the components and a few more details, the final result looks awesome. You can see it live here. Also, you can find the complete code on this repository.
References
- Hashnode API - https://api.hashnode.com
- How to show blog posts from your Hashnode blog on your personal site?
I keep writing about the things I learned and applied. So you can connect with me on Twitter, Github or Linkedin. Also, subscribe to my newsletter and stay up-to-date with my latest blog posts.
⚡ Happy learning!